Most developers start working with Logic Apps through Azure Portal, because it’s fast and direct. You just open the Portal, create your resource and start working. This is fine but it comes with a cost. There are several limitations to what you can do, specially when it comes to CI/CD (Continuous Integration/Continuous Delivery).
To handle this, there is the need to move to Visual Studio and start working from there. For this to happen, you need tools to help you and there’s a few available. In this post, I will approach a very good one and how to use it.
This tool is a collection of powershell scripts that will download to file your Logic App code and it also can create a parameters file.
The creator of this collection is Jeff Hollan, PM Lead for Microsoft. You can check his work at his GitHub repo. https://github.com/jeffhollan
The project that we’re going to use is LogicAppTemplateCreator. It’s a C# project that creates a DLL and that we will import and use.
I dropped into a Shared folder, because I’ve referenced it in a Repo for other people to consume in our projects, but this is not necessary, although I recommend it so that it becomes easier for future developers in your company.
After executing this, you’ll be ready to download your ARM template. So, get your Resource Group ID, you Subscription ID and prepare an output folder. You will also need to enter your credentials to login by powershell.
The script should be changed according to your IDs. Do note that it should not be case sensitive. If you don’t set the Out-File, the output will be set in the powershell console, you’ll still be able to copy it and paste in a file, but it’s an unnecessary step.
You will now have both files you need to manage your Logic App, so just copy them to your VS Azure Resource Group project, with Logic Apps Template and you’re almost ready to go.
You will need to address the path links in the JSON code to make them CI/CD-able and fix the parameters in some connectors, but there’s not a lot of work to be done.
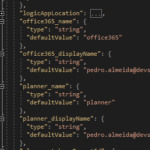
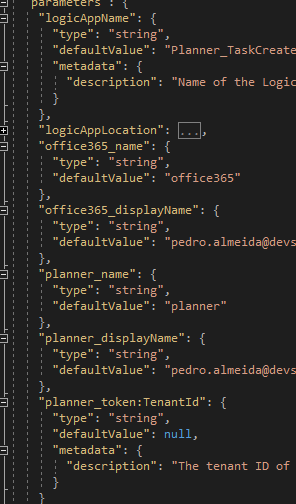
As you can see, the ARM template already provides all connection parameters and connections variables. I do recommend you changed them to a more appropriate naming convention like “arm_O365”, “arm_SQL” or “arm_ServiceBus”. This way you will know what it’s referring to with a very understandable pattern.
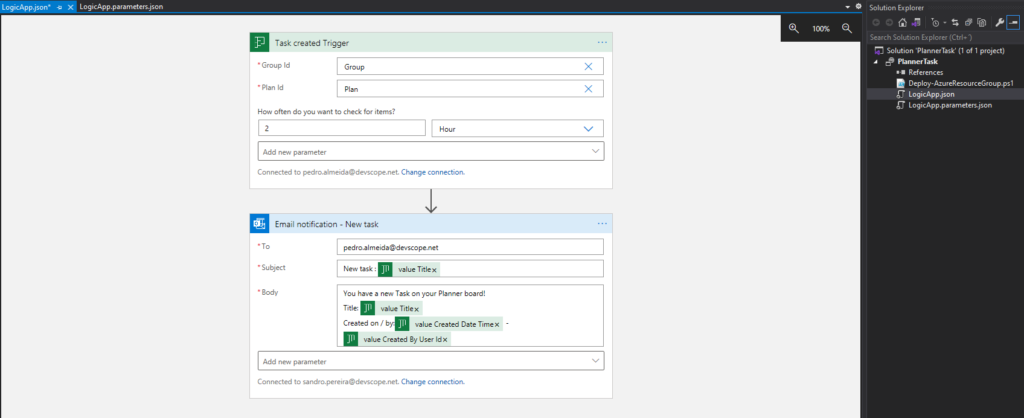
At the end of the day, your Logic App should be ready for deployment in your subscriptions and look something like this: