Azure Logic Apps Tools is available for Visual Studio 2019, 2017, and 2015 Community edition or greater and will allow you to design and deploy your logic apps from within Visual Studio. The Logic App designer integrates with the current Azure Resource Group project so you can seamlessly work with resource deployments that include Logic Apps.
Although this tool is officially supporting three versions of Visual Studio, I will advise you to install it only on Visual Studio 2019 and not in older versions. At some point, they will be officially removed or discontinued.
Prerequisites
- Visual Studio 2019, 2017, or 2015 – Community edition or greater;
- Visual Studio Tools for Azure: Azure SDK, tools, and projects for developing cloud apps and creating resources using .NET Core and .NET. Important also to create hybrid solutions without having the need for another development environment.
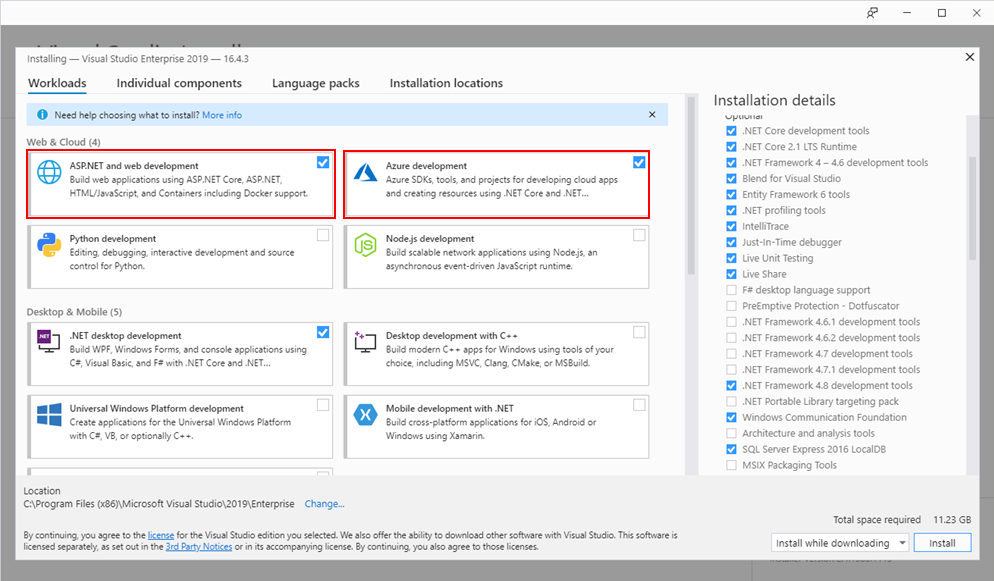
- In the Visual Studio installer, install Visual Studio (or modify an existing installation). Make sure the Azure development and ASP.NET and web development workloads are selected.
- Microsoft Azure PowerShell:
- https://docs.microsoft.com/en-us/powershell/azure/install-az-ps?view=azps-1.6.0
- https://github.com/Azure/azure-powershell#installation
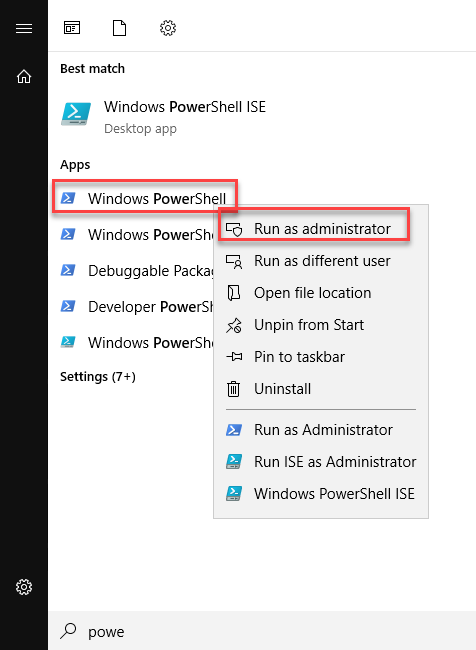
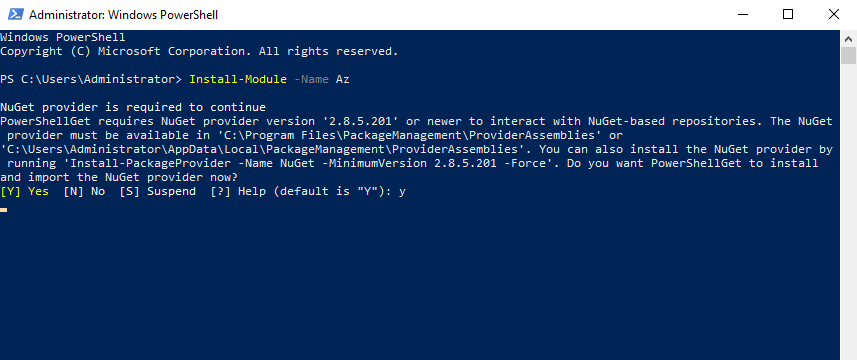
- Run Windows PowerShell as administrator
- and run the following command: Install-Module -Name Az
Note: of course, for this or any other approach describe above, you need an Azure subscription or sign up for a free Azure account.
Install Azure Logic Apps Tools for Visual Studio 2019
AftAfter you install the prerequisites, this is a straightforward process. To accomplish that, we need to:
- Open your Visual Studio, on the entry screen select the option Continue without code ->
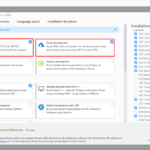
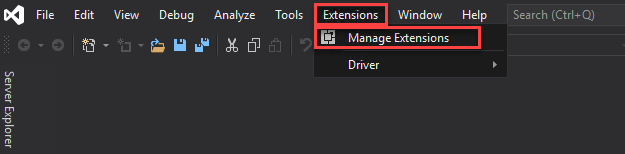
- Then on the menu, navigate to Extensions > Manage Extensions
- Select Online and search for Logic Apps

- The add-in will be listed in the search results section. Click Download to download and install the add-in. You need to close your Visual Studio in order to begin installing this extension.
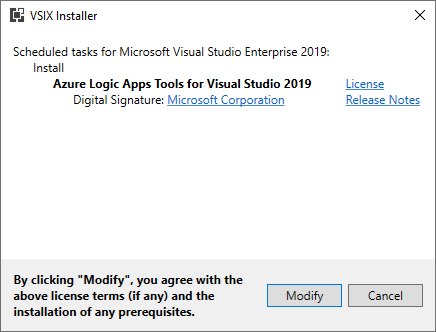
- On the VSIX Installer screen
- Make sure that the correct version of Visual Studio is selected.
- Click Install or Modify. This will download and install the add-in to your version of Visual Studio.
- At the end select Close.

Creating a Visual Studio Logic App project
The Logic Apps designer integrates with the current Azure Resource Group project. That saying, you will not find any Logic App template from the list of templates. Instead, we need to create an Azure Resource Group project to get started and to do that, we need:
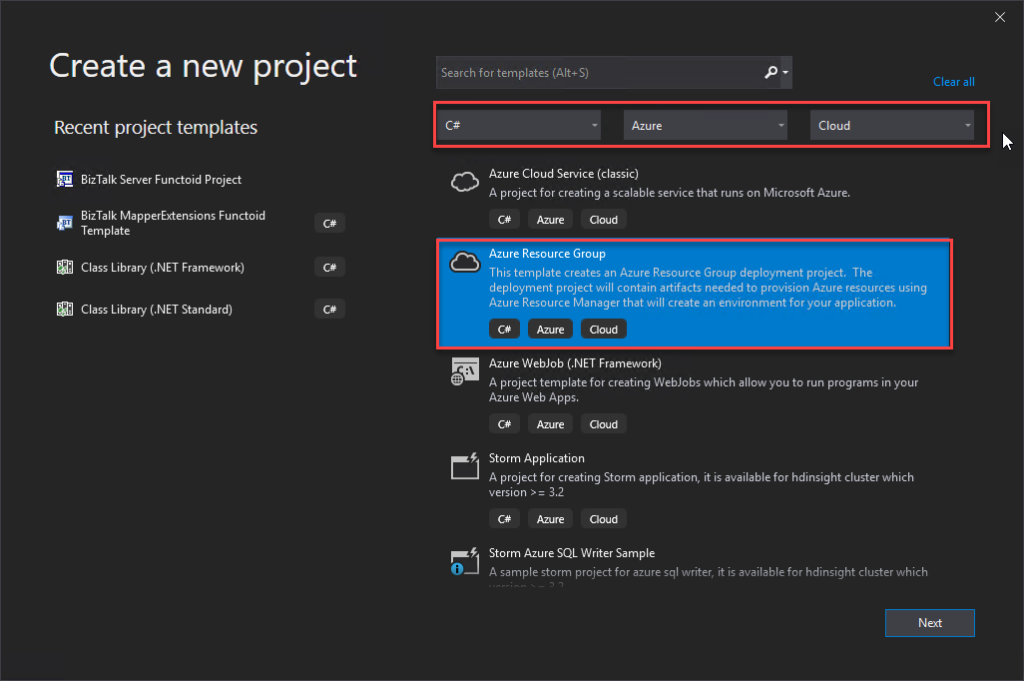
- Open Visual Studio and on the Create a new project panel, select C# -> Azure -> Cloud, or select for Azure Resource Group;
- Select Azure Resource Group from the template list;
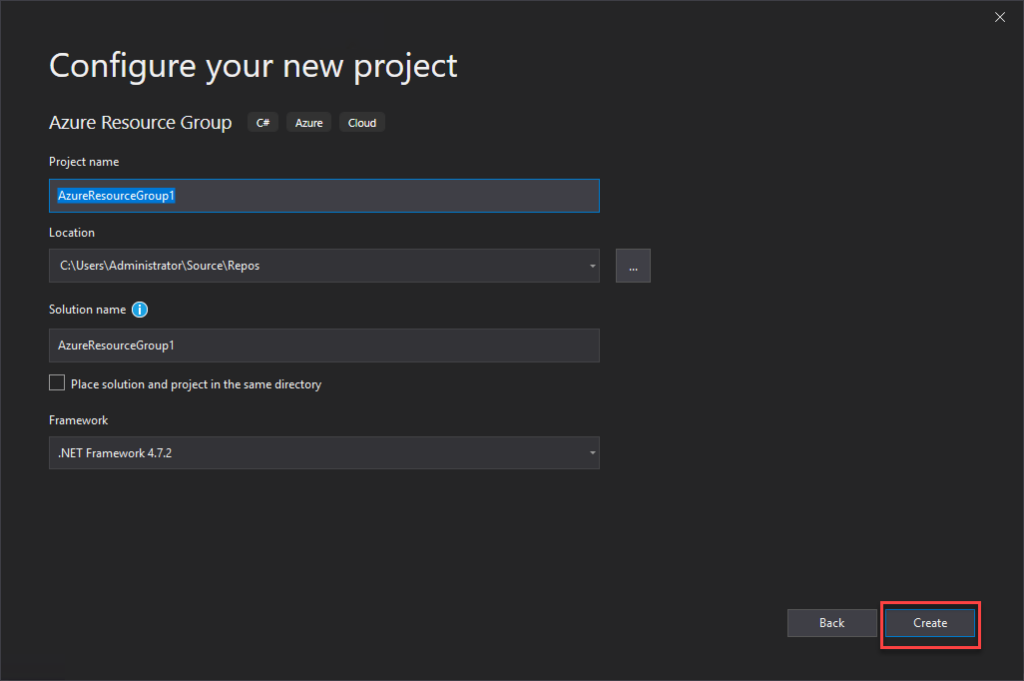
- On the Configure your new project panel, give a proper Project name, Location, Solution name, and leave the Framework as .Net Framework 4.7.2 and select Create.
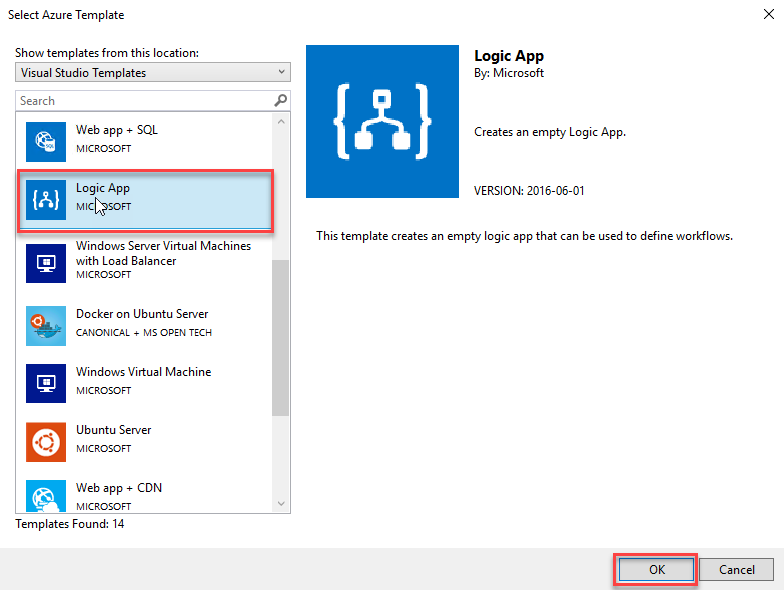
- Finally, on the Select Azure Template panel, from the Visual Studio Templates list, select the Logic App template and select OK.
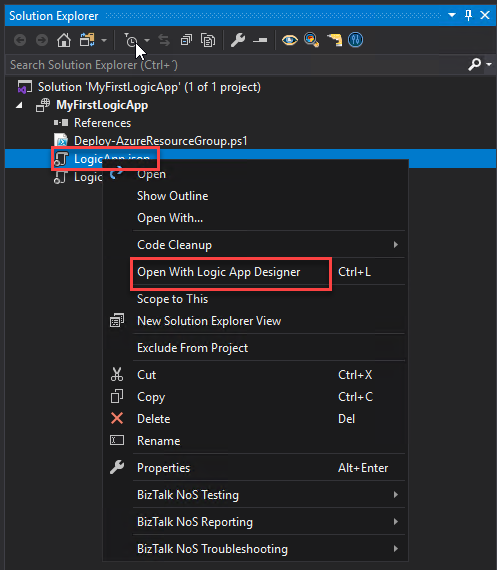
This will create an empty Visual Studio Logic App solution. Now on the Visual Studio solution:
- Right-click on the LogicApp.json file and select Open With Logic App Designer
- This will open a Logic App Properties window, where you need to:
- Define the credentials to authenticate on the Azure subscription;
- Define the Subscription and Resource Group where you want to create these resources;
- Define if you want the Location to be in the same Region or in an Integration Service Environment (ISE);
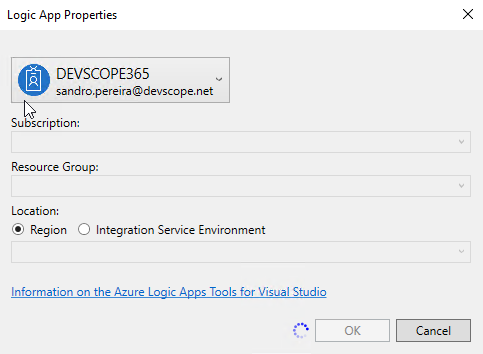
- And then select OK.
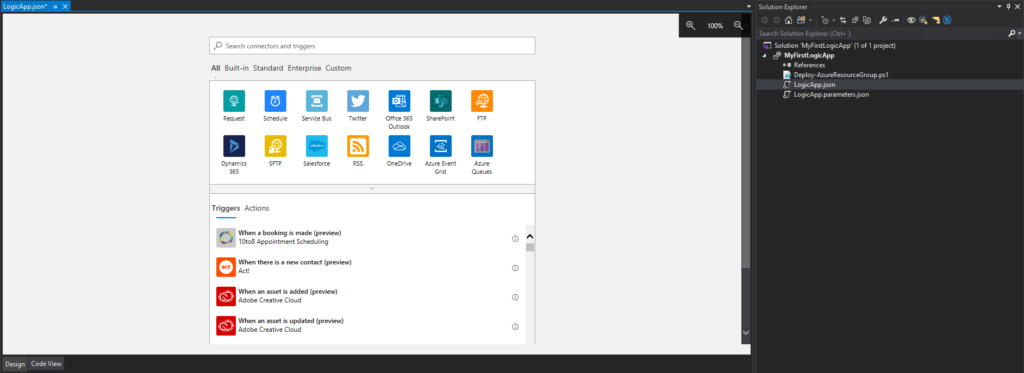
This will embed the Logic App designer inside the Visual Studio.
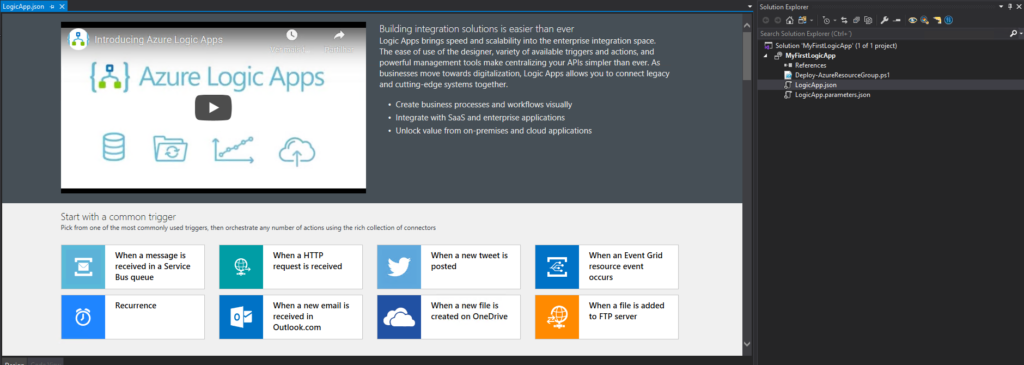
Now you need to select a common trigger, a template, or use a blank Logic App to start creating your business process.
The post What do I need to do to start developing Logic Apps from Visual Studio? appeared first on SANDRO PEREIRA BIZTALK BLOG.